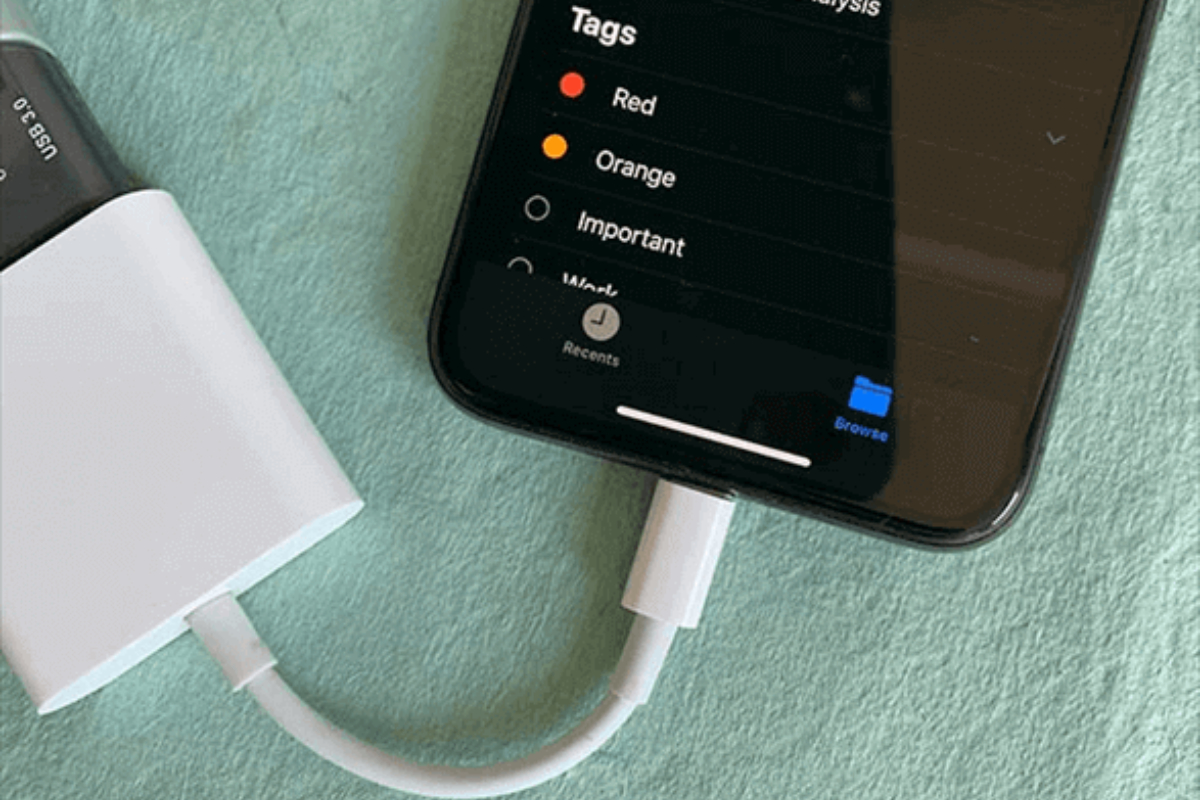
With limited storage space and costly iCloud expansion options, managing photos on iPhones has become essential. Users often need to transfer photos to external hard drives to free up space and safeguard memories.
Here’s how to transfer iPhone photos to external devices:
- DearMob iPhone Manager: This software, available for Windows and macOS, helps transfer photos. After downloading and connecting your iPhone, you can adjust the destination path for exporting photos to external drives under settings. Then, select the photos you want to transfer and click ‘Export.’
- Photos app on Windows: Connect your iPhone to your Windows PC using a USB cable. Open the Photos app and plug in the external hard drive. Select ‘Import’ > ‘From a USB device’ and choose the photos to transfer. Customise import settings and select the external hard drive folder as the destination. Click ‘Import Selected’ to start transferring.
- File Explorer: Connect your iPhone and external hard drive to your PC via USB. When prompted on your iPhone, click ‘Allow.’ Open File Explorer and navigate to your connected iPhone. Find the photos in the ‘100APPLE’ folder and copy them to the external hard drive.
These methods help manage iPhone photos efficiently and ensure precious memories are safe and accessible.
[embedpost slug=”photos-here-is-what-the-apple-iphone-flip-will-look-like”]


