Tue, 21-Oct-2025

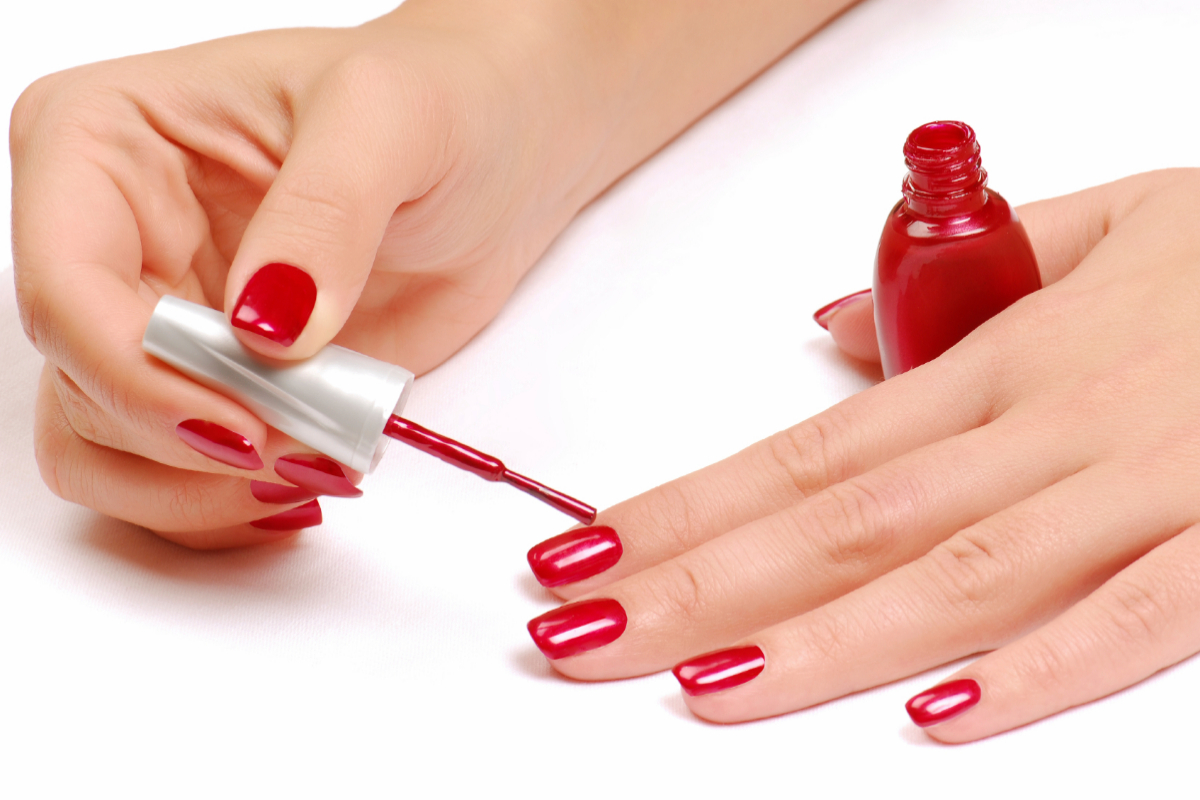
5 DIY hacks to dry your nail polish fast

DIY
  • To wait impatiently for the nail paint to dry so you can move on with your life takes a lot of patience.
  • Looking for a quick way to dry your nail polish?
  • Have a look at DIY nail polish hacks.

You’ll undoubtedly feel happier after getting your nails painted professionally or creating DIY nail art at home, especially if you end up with a design you’ve been pining for. When I consider what I have accomplished, my heart definitely gives a little jump! Even you will probably feel content and proud in the end. However, when it comes to waiting for your nail polish to dry, that joy can occasionally be fleeting or diverted.

To wait impatiently for the nail paint to dry so you can move on with your life takes a lot of patience (uff). What if you need to leave quickly? Will you take the chance of having your newly painted nails smudged? If you’re involved in the same love-hate drama, you should read this article.

Therefore, stop remaining motionless after your manicure session because in our fast-paced world, nobody has time to spend. Looking for a quick way to dry your nail polish? Keep reading!

Utilize ice-cold water to quickly dry nail paint

The earliest known technique that has been proven to be successful to date. All you need is an ice-filled dish large enough to accommodate your fingers, some ice, and teeny-tiny preparation. Take the incredibly simple actions listed below:

  • Put those ice cubes in the bowl and add cold tap water before you begin painting your nails.
  • Keep the dish close to the area where you plan to sit to do your nails.
  • When you are finished painting your nails, give the polish a few minutes to set (in order to make the drying process spread evenly).
  • Once your nails are dipped, keep them in the basin for at least five minutes.
    Remove your hands (or toes) from the bowl after five minutes. Verify whether your nails are covered in water beads.
  • If so, your nail polish is finished drying.
  • If not, re-dip your fingers in the water for a few more seconds.

Blow-dry your manicure

Connect your hairdryer to the outlet and select the cool air setting before you begin painting your nails. After finishing painting your nails, carefully blow dry them with a continuous stream of cool air using the drier. Keep in mind to ONLY use a low fan speed and a cold temperature setting.

The best way to make this trick work is to paint your nails on one hand, dry them with the hairdryer, then paint your nails on the other hand.

Frozen nail polish

Go to your kitchen and carefully open the freezer area of your refrigerator after you’ve finished painting your nails. Put your hands in there for at least five minutes or as long as you can withstand the cold. Then sit with your hands spread out and wait for the ice nails to melt. After a little while, you will notice water beads on your nails. It demonstrates how absolutely dry your nails are.

Apply a fast-drying top coat

The price of many commercially available quick-drying top coats is comparable to or even lower than that of ordinary nail polish. These top coats that dry quickly make the claim that they offer an additional layer of glossy sheen to your nail paint, speeding up the drying process. The greatest top coats also help to stop chips from occurring. I suppose it’s an intriguingly worthwhile investment.

Use drying drops OR olive oil drops

Another outdated trick: just give it a try without asking any questions and be impressed. To help your freshly painted nails dry more quickly, soak them in extra virgin olive oil for about two minutes. In addition to using extra virgin coconut oil (the OG), sunflower oil, or baby oil as substitutes for olive oil, you can also do so.

Similarly, you may buy drying drops offline or online from any cosmetics retailer. These are not the same as top coats that dry quickly. Drying drops don’t add a further layer to your nail paint like top coats do. However, because they are oil-based drops, they moisturise and nourish the skin around your cuticles.

Anecdotally, this technique appears to dry your nail colour just on the top layer. Therefore, even if your nail paint seems dry after using these drying drops, do not be fooled. To completely set, give your nails another two to three minutes.

[embedpost slug=”miss-universe-will-accept-married-contestants-in-2023/”]

Read more

Husband’s dependency on social media goes horribly wrong 

Husband’s dependency on social media went horribly wrong 

The 28-year-old woman from Tirupur, Tamil Nadu, gave birth to a healthy baby but then passed aways. After the delivery, the mother and infant were transported to the hospital, but physicians proclaimed her dead. She died as a result of intense bleeding. When one guy attempted to assist his wife during childbirth, his reliance on … Read more

8 simple and natural ways to test pregnancy at home

Pregnancy

Being a mother is the most desirable emotion for many women. The absence of your period is the first indicator of pregnancy.

While test kits are readily available on the market, women have been using homemade pregnancy kits for decades. They function by detecting the level of HCG (human chorionic gonadotropin), pregnancy hormones in the urine. Many of them are based on folk remedies and can produce decent results.

With the evolution of medicine, we now have a plethora of possibilities in the form of widely available pregnancy kits; there are many simple, safe, and extremely affordable solutions available directly in the comfort of our own homes.

The privacy that these do-it-yourself pregnancy tests provide is the finest aspect of them. So, if you’re worried about an unwanted pregnancy or want to keep your pregnancy a secret, we’ve compiled a list of 8 DIY natural pregnancy tests.

1. Bleach pregnancy test

Pregnancy

This method is supposed to produce the most precise and rapid results of any procedure.

Fill a clean container halfway with urine. Now add the bleaching powder and thoroughly mix it to avoid lumps. You are pregnant if the mixture makes a foam or fizz, and you are not pregnant if there is no foam.

2. Sugar pregnancy test

Pregnancy

When there were no scientific pregnancy kits available, this approach was the most extensively utilized of all tests.

In a bowl, mix one tablespoon of sugar and one tablespoon of urine. Now observe how sugar reacts when urine is poured on it. If the sugar begins to clump, you are pregnant; if the sugar dissolves fast, you are not.

The sugar does not dissolve effectively due to the HCG hormone secreted in the urine.

3. Toothpaste pregnancy test

Pregnancy

You can use any toothpaste, as long as it is white in colour.

Fill a jar with two teaspoons of white toothpaste and the urine sample. You’re pregnant if the colour of your toothpaste changes and turns frothy.

4. Vinegar pregnancy test

Yes, even vinegar can assist you in determining whether or not you are pregnant. Remember that you’ll need white vinegar for this experiment.

In a plastic jar, take two teaspoons of white vinegar. Drop in your urine sample and thoroughly mix it. You are pregnant if the vinegar changes colour and develops bubbles, and you are not pregnant if there is no change.

5. Salt pregnancy test

This at-home pregnancy kit works in the same way as the sugar test. Salt is used instead of sugar. The same procedures must be followed. Equal parts of urine and salt should be mixed. Wait for a minute. A positive result is when the salt creates a creamy white clump of some sort. If there is no such result, it is possible that you are not pregnant. This, too, is based on tradition, with no scientific proof to back it up.

6. Soap pregnancy test

This test can be performed with any type of bathing soap. Take a little piece of soap and wet it with your urine. If it produces bubbles, you are pregnant; if it does not, you are not.

7. Baking soda pregnancy test

Combine two teaspoons baking soda with two tablespoons urine in a mixing bowl. Now watch how it reacts. You’re pregnant if you observe bubbles like when you open a soda bottle.

8. Wine pregnancy test

Wine testing is another reliable method to test pregnancy at home, albeit it is a little more expensive and time consuming.

Combine half a cup of wine with an equal amount of urine. Allow 10 minutes to see the reaction after thoroughly mixing it. If the wine’s natural colour changes, it signifies you’re expecting.

Although these homemade tests have been used for decades and have a long history, there is no definitive proof or scientific evidence that any of them work to produce a 100% positive result. A good result can also be the consequence of coincidence.

[embedpost slug=”extremely-delicious-homemade-mango-mojito-and-easy-to-make/”]

Read more